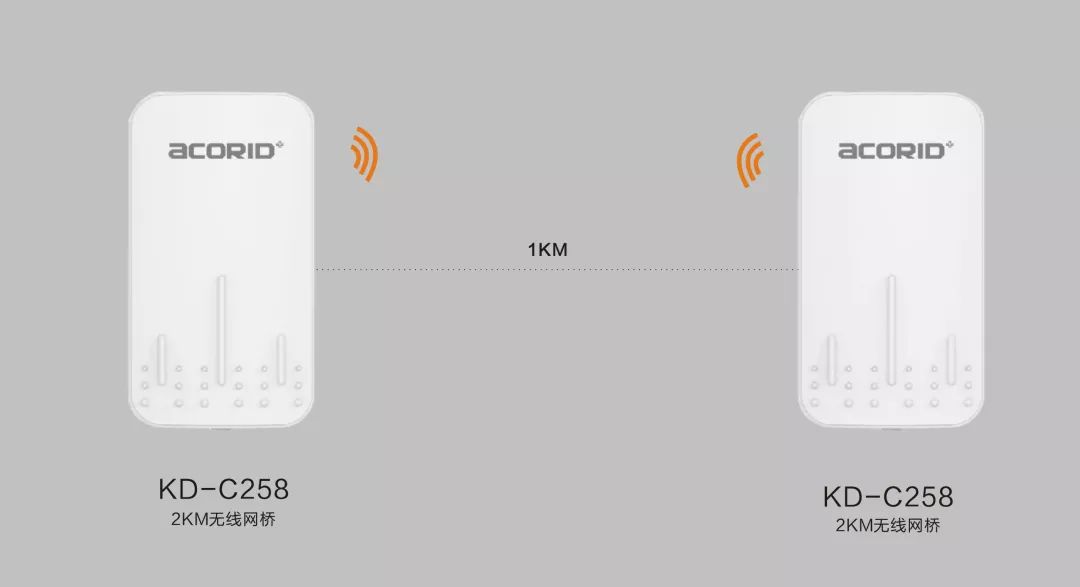
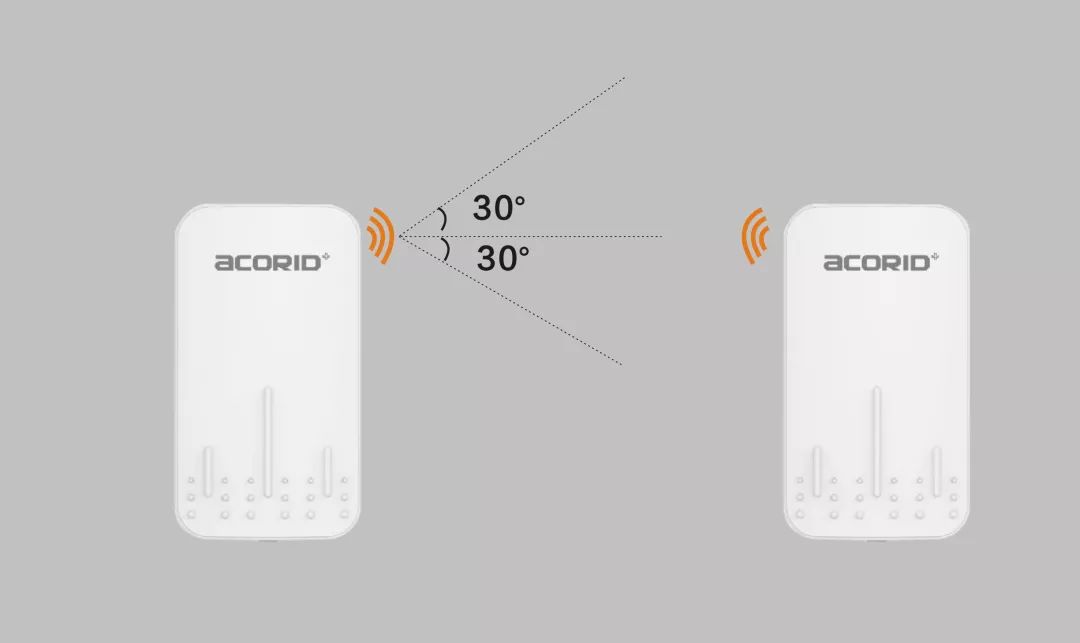
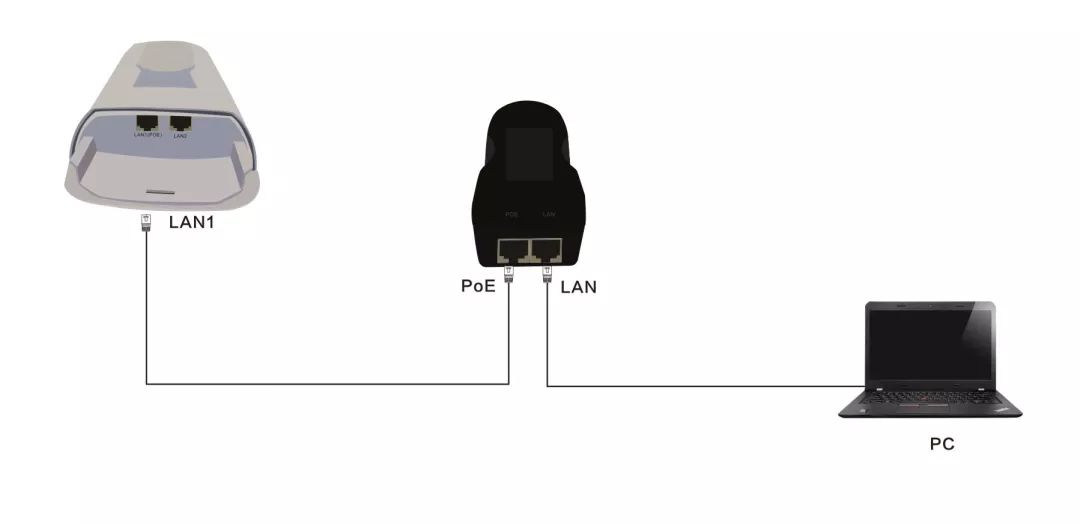
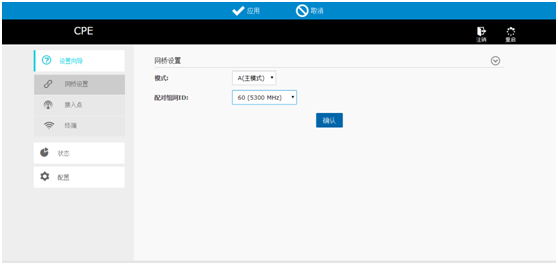
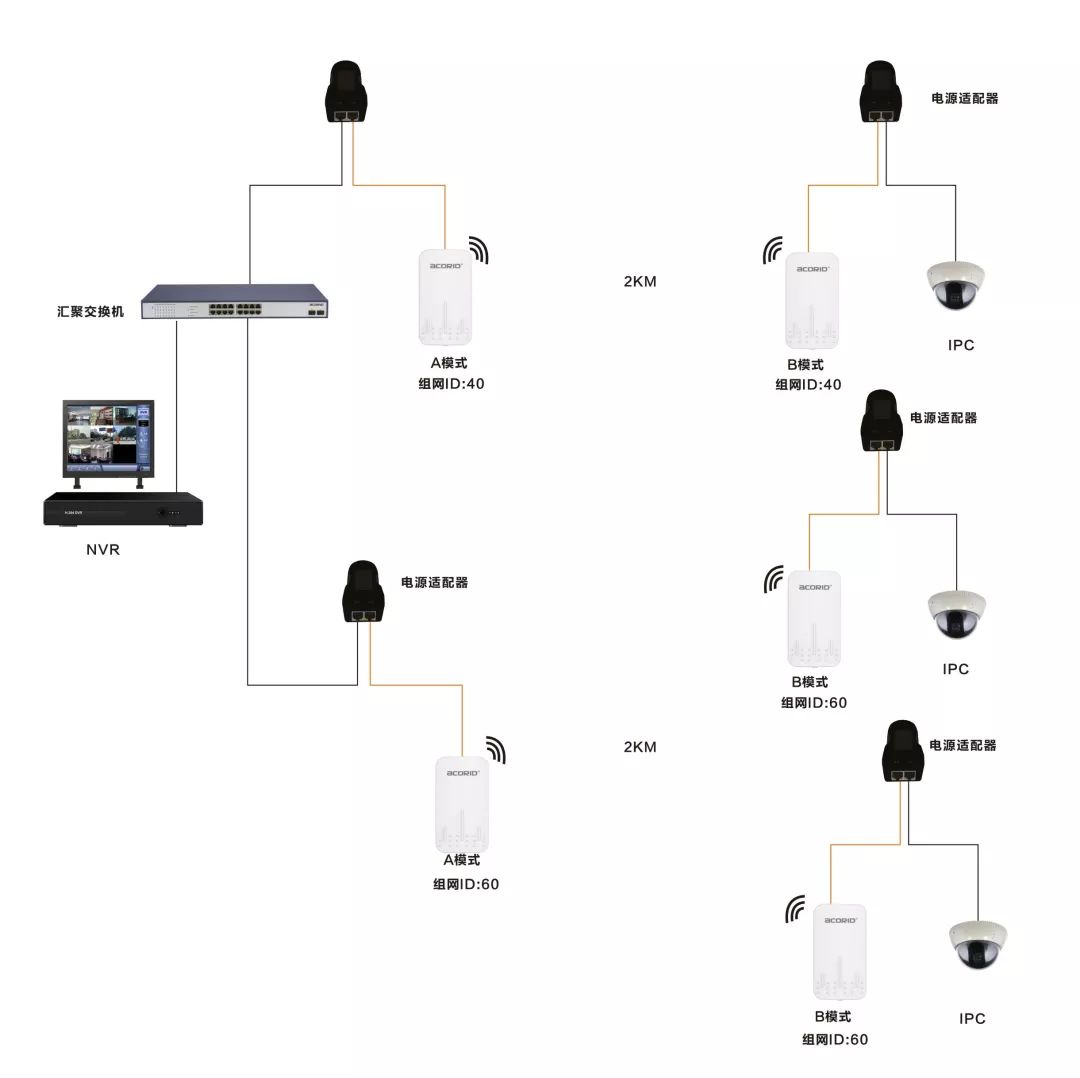
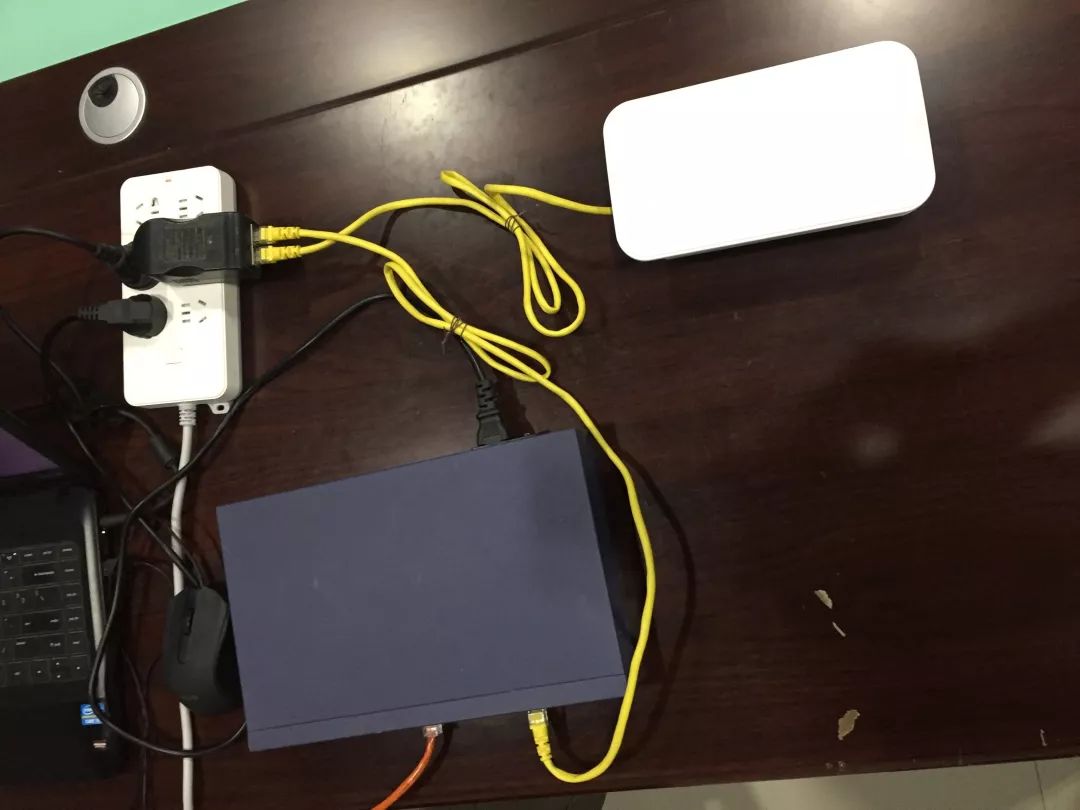
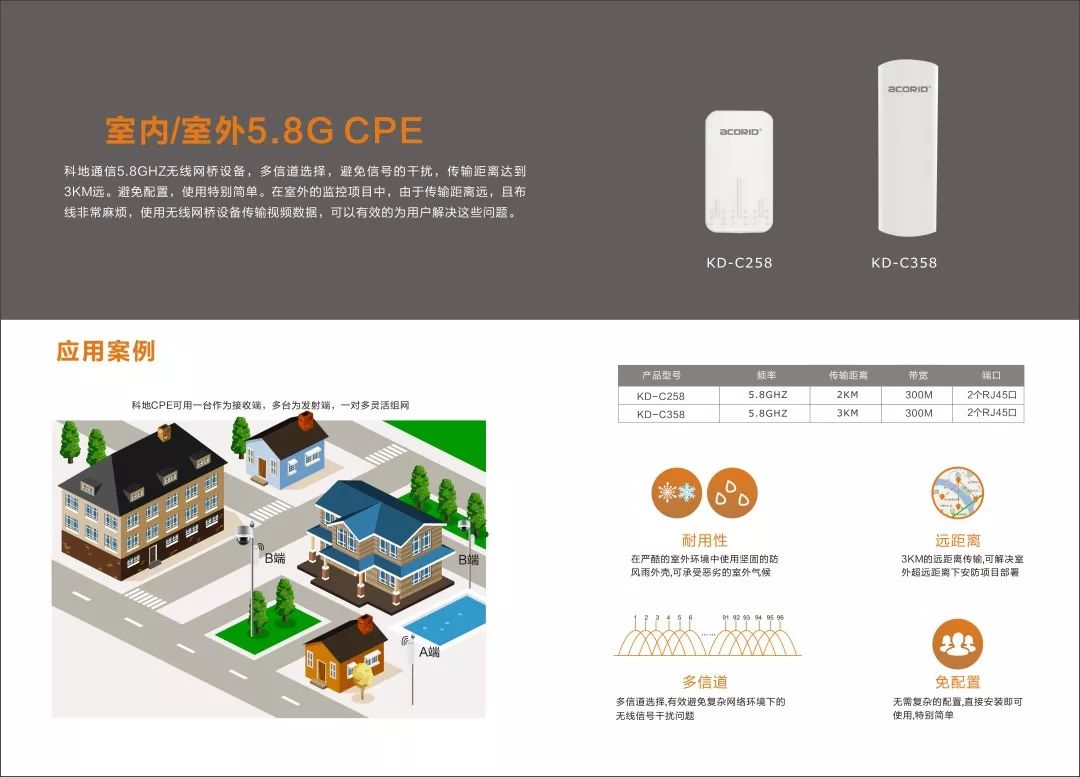
Guide In the process of project application, wiring in environments such as highways, forest fire prevention monitoring with rivers and mountain streams blocking will be a very complex, time-consuming and labor-intensive project. The wireless bridge equipment uses air as the transmission medium and does not require any cable equipment to meet long-distance data transmission, which perfectly solves the wiring difficulties in construction. How do project users choose the right bridge? The first step in selecting a bridge is to start from your own needs. How big is the project, how many points need to be monitored, how far is the distance to be transmitted, what type of data needs to be transmitted, and the data that needs to be transmitted How much is the amount, whether WiFi signal coverage is needed, etc. These questions determine which wireless bridge we ultimately use. 1 Transmission distance Due to electromagnetic interference, sun, rain, fog, snow and other weather will cause the transmission performance of the bridge to decrease, the project should have sufficient performance redundancy. The theoretical transmission distance of the bridge is greater than the actual distance required by the project. For example: for a construction distance of 1KM, a network bridge with a maximum transmission of 2KM should be selected. For example, Kedi Communications provides wireless bridges with 2KM and 3KM long-distance transmission. 2 Belt calculation The bridge bandwidth we often say is actually just the bandwidth value of the wireless protocol standard. In fact, the real bandwidth is not that much. For example: 100Mbps bridge, the actual bandwidth is only about 60M 300Mbps bridge, the actual bandwidth is only 100M at most; if there is a one-to-many situation in the monitoring project, the maximum bandwidth can be obtained by calculation. For example, the bridge camera of 5.8G2KM100Mbps is a 200W pixel camera, the code stream is 4M, and the distance is 60M/4M=15 within 1KM. At this time, the bridge can carry 15 cameras at most, and 10 is the most suitable. If the distance reaches 2KM, the bandwidth will be severely depleted. Only 2-4 cameras can be used at most. 3 Installation location The wireless network bridge uses a wireless transmission device with a frequency of 5.8GHZ. 5.8GHZ is characterized by strong anti-interference ability, but not strong diffraction penetration, so it is necessary to choose no trees, houses and other blocking signal transmission during installation. position. The top position of the bridge is the wireless antenna signal transmission position, where the signal strength is the strongest, the signal is radiated with lobe shape, and the front signal strength is the best. As the deflection angle increases, the signal decreases. Therefore, both ends of the bridge should be installed in a straight line as far as possible. The maximum deflection angle cannot exceed 30 degrees left and right. 4 stability In practical applications, wireless bridges will encounter many on-site problems. The most obvious one is that they are well tested in the factory. As soon as they come to the site, there will be various packet loss, delay, disconnection, and restart problems, and the stability is very poor. . Each of Kedi's products is not only tested in the factory, but we will also conduct a large number of field tests, and continue to improve in actual applications based on customer/engineering feedback. So how should the wireless bridge be deployed? 1 Connect the PoE port of the power adapter to the LAN1 port of the bridge, and connect the LAN port of the adapter to the computer. Configure the computer's IP address as the 192.168.255.x network segment. 2 Open the computer's IE browser and enter the management IP address of the bridge. The default A-side address is 192.168.255.1; the B-side address is 192.168.255.2. 3 Bridge A mode is the master mode, used to connect near-end devices, such as aggregation switches, NVRs, etc.; B mode is the slave mode, connected to remote cameras, and the A and B ends can be changed mutually through the management interface. 4 The default networking ID is 40, but in the case of multi-group bridge networking, in order to avoid signal crosstalk, you need to modify the networking ID of other paired networking bridges, for example, change it to 60, and click OK-Apply. Both ends A and B of the same group of bridge devices need to be changed to the same network ID at the same time to be able to communicate. As shown below. 5 The network configuration of the bridge can be modified to facilitate the management of the device. The default A-side address is 192.168.255.1; the B-side address is 192.168.255.2. Users can modify the network address they want according to actual needs. Connection diagram Actual connection diagram A side B end lose Pay attention to the adjustment of the azimuth angle during installation. The position directly affects the quality of the wireless bridge signal, and the strength of the signal directly affects the stability and fluency of video data transmission. After the installation is complete, you can adjust the position according to the signal strength of the signal status indicator on the bridge. Troubleshooting If there is no image, first check whether the device is powered on, log in to the bridge with a computer, test whether the bridge is working properly, and observe whether the camera is working properly; secondly, check whether the network IDs of a pair of bridges are consistent; then check whether there are obstacles Block the signal transmission; calibrate the position of the bridge to see if there is too much deflection; if there is still no image, you can restore the factory settings and reconfigure. Kedi wireless bridge product introduction Air Bar,Disposable Vape Air Bar,Air Bar Disposable Vape Pod,Air Bar Light Edition Shenzhen Zpal Technology Co.,Ltd , https://www.zpalvapes.com
